

Add a User
1. To manage users you’ll use tools within the Users menu.
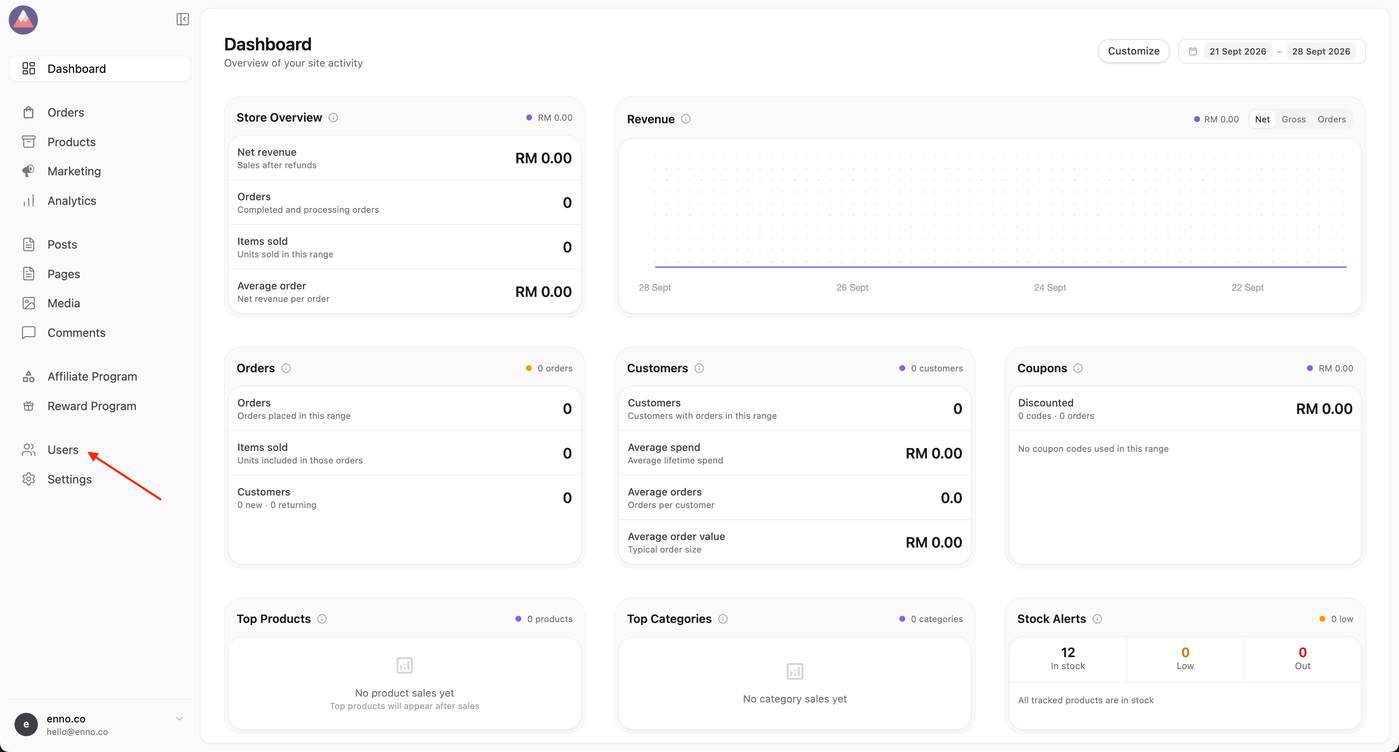
2. On the User menu in the Dashboard select Add User.
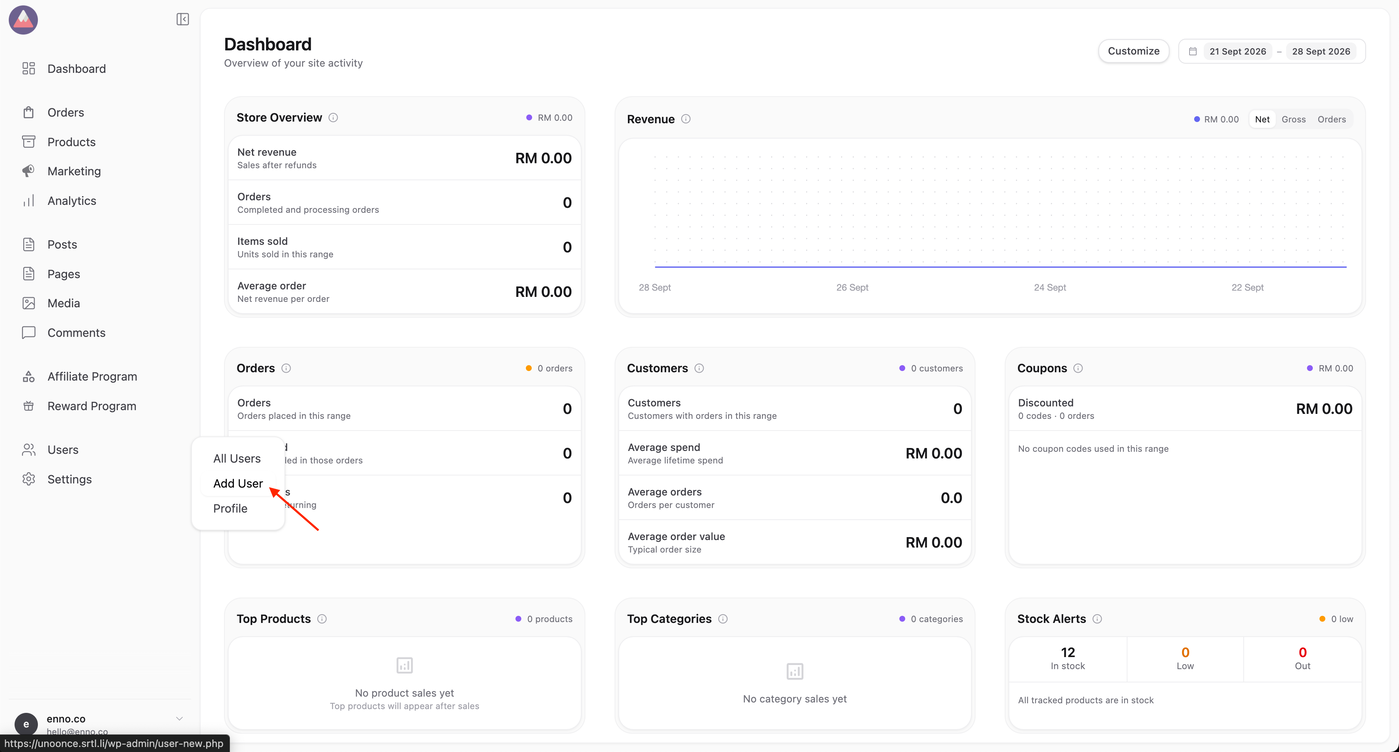
3. Fill out all the necessary fields:
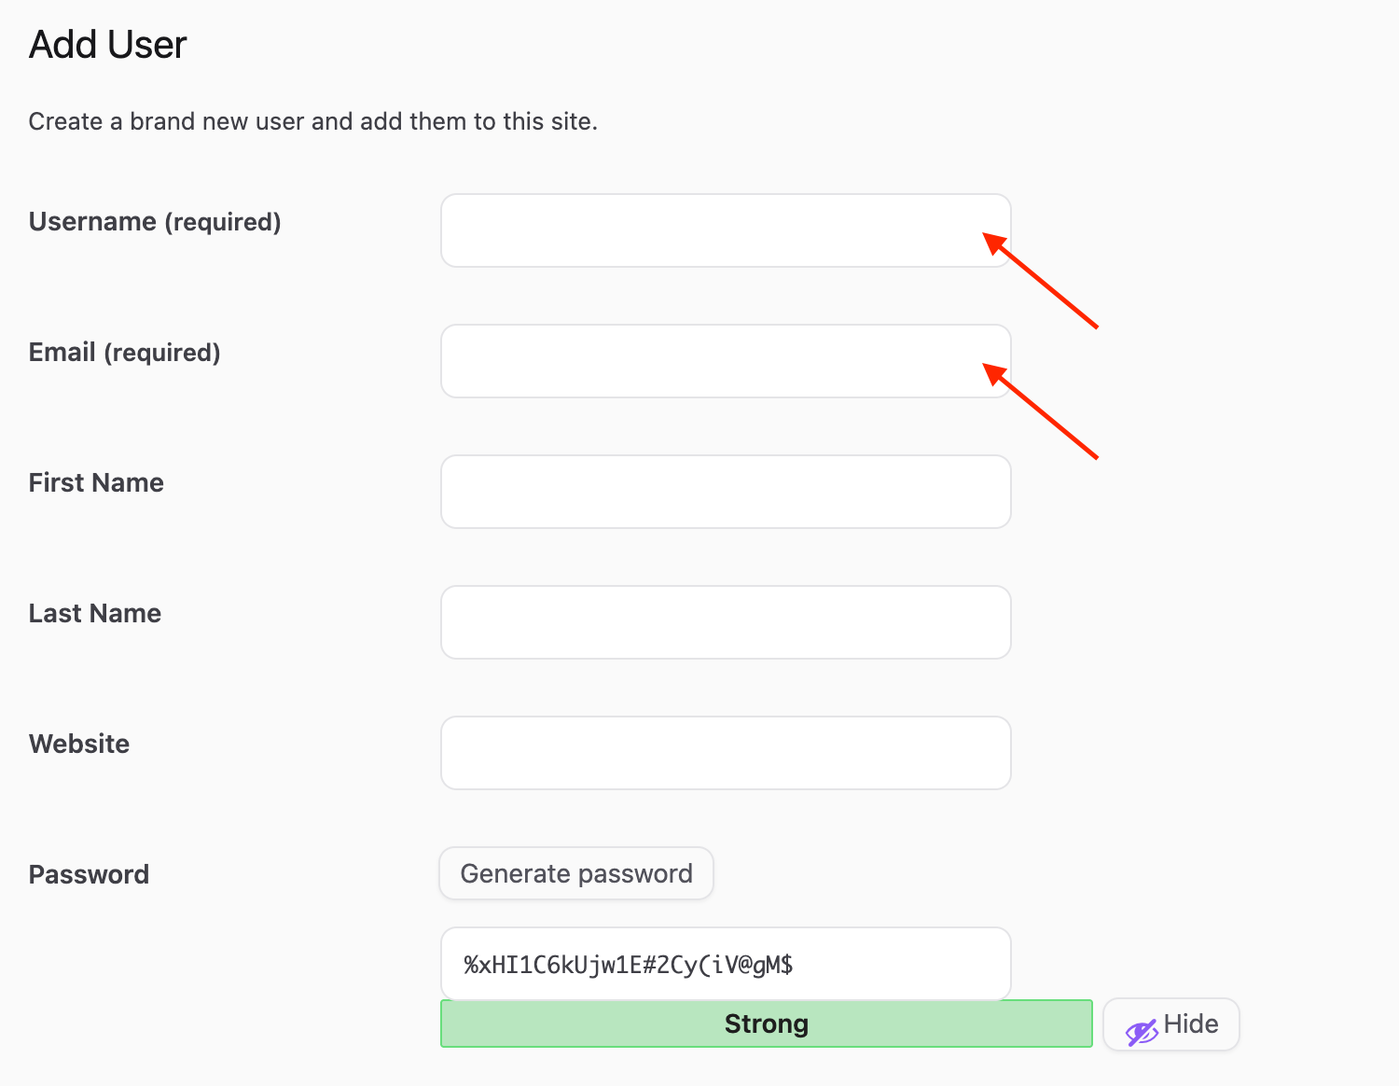
Username (required) – Enter the username of the new user here (DO NOT use “admin“ or “administrator” as username). You can use lowercase alphanumeric, dash, and underscore symbols in the username. The username should be in lowercase alphabetic character.
E-mail (required) – Enter a valid e-mail address of the new user here. The e-mail address must be unique for each user.
First Name – Enter the first name of the new user here.
Last Name – Enter the last name of the new user in this text box (the display name defaults to first and last name).
Website – You may enter the new user’s website URL in this text box.
Password – Enter a strong password for the new user.
4. Select the desired Role for this User from the drop-down box:
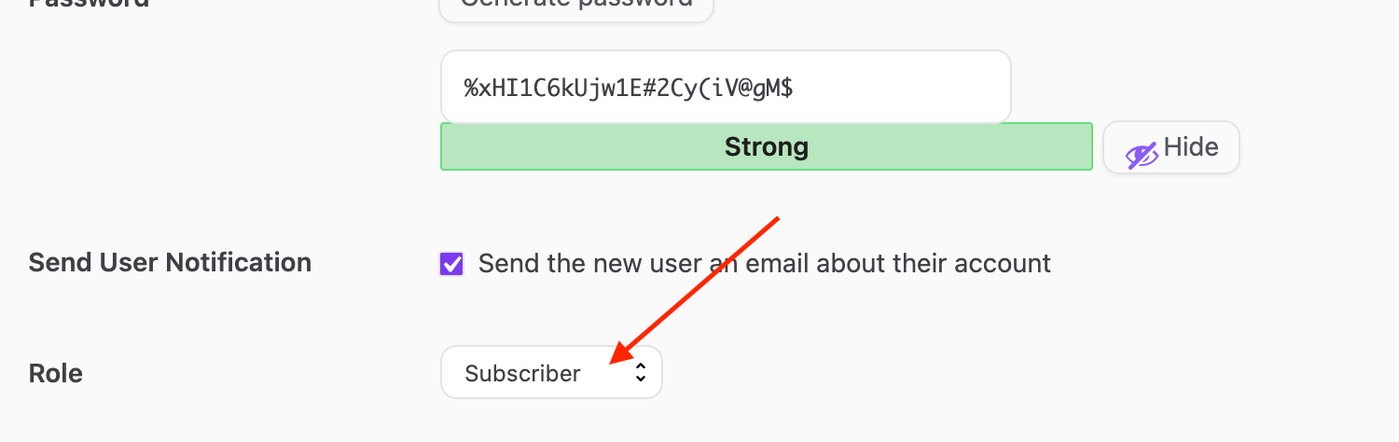
Administrator – somebody who has access to all the administration features within a single site.
Editor – somebody who can publish and manage posts including the posts of other users.
Author – somebody who can publish and manage their own posts.
Contributor – somebody who can write and manage their own posts but cannot publish them.
Subscriber – somebody who can only manage their profile.
Customer – People become Customers when registering via the checkout or sign-up process. (If your site with Ecommerce features, choose this role instead of "Subscriber")
Shop Manager – Someone to manage the shop without making them an Admin.
5. Click Add New User button.